The Top At-Home Blowout Tips
By Keune | May 20th, 2020
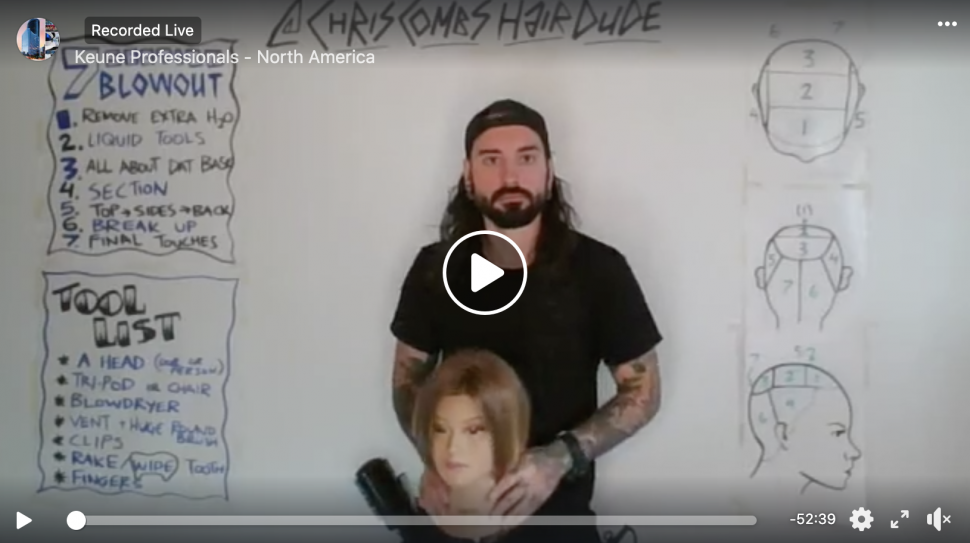
The Seven-Section Blowout by Keune Academy Trainer Chris Combs is a must-watch whether the goal is to create a salon-worthy at-home blowout or to work faster. Take a peek at these at-home blowout tips to learn how to blowout hair faster, with more volume, and less fatigue. Additionally, tune into Chris Combs Keune Academy Facebook Live to see the technique in action!
What You’ll Need:
- Blow Dryer
- Vent Brush
- Wet Brush
- Round Brush
- Tail Comb
- Sectioning Clips
Products:
- Style Soft Mousse
- Style Precision Powder
- Style Curl Cream
- Blend Gel
- Style Salt Mist *
- Blend Prep Spray *
- Blend Clay
- Care Keratin Smooth Silk Polish
- Style Freestyle Spray
- Blend Refreshing Balm **
*for fine-haired clients
**to extend the blowout
The Process
It is important to note that the amount of moisture in the hair will impact the amount of time it will take to dry it. In short – more moisture leads to more time. To begin, towel-dry hair to remove an adequate amount of moisture. As a rule of thumb, if the hair is straight and smooth, remove about 70-80% of moisture by rough drying prior to brushwork. Alternatively, if the hair is curly or textured, leave more moisture to ensure adequate time to stretch the hair into its new structure.
Start with the Base
Products applied and the method of drying is key to creating a voluminous blowout. Chris suggests using different products at the base of the hair versus the mid-lengths to ends to achieve a stunning finish. Drying the base first will ensure volume while combatting split sections – more on this later.
If the client has normal to thick hair, use a combination of Style Soft Mousse and Style Precision Powder at the root. The powder will add fiber to the foam mixture and create the structure needed for a voluminous base. If the client has fine hair, use a combination of Style Salt Mist and Blend Prep Spray throughout instead.
Once the base products have been applied, move on to drying the root section only with a vent brush. Blow drying around the scalp in various directions (back and forth and right to left) will remove moisture and protect against split sections – this happens either when working with a predominate cowlick or part, or if the sections haven’t been married together. Once the base is almost dry, move onto the mid-lengths and ends.
Moving onto the mid-lengths & ends
Mixing Style Curl Cream and Blend Gel, a combination that will create a lot more hold and shine. Work this through the hands and apply at the back of the head, mostly on the ends, and then move forward. Use a wet brush to diffuse product, detangle the hair, and begin creating sections.
The seven sections
Start at the top by breaking up the Mohawk section into three sections, then move to each side and then the back. Take a look at the video to see exactly how Chris Combs creates these. Clean sections will help you move through this style easily and efficiently.
Continue to dry
For best results, start at the front then move to the sides and finally to the back of the head. Use a large ceramic brush and pick up sections that are the same width as the circumference of the brush. If the hair is curly or textured, use a boar bristle brush for better control.
To create volume and movement – pay attention to how the hair over directed. Before switching sections, hit the hair with a cool shot to guarantee hair is dry and the cuticle is closed.
*Pro-tip: Chris suggests using vertical sectioning on the sides to create length because horizontal sectioning creates width-wise volume.
Finishing touches
Once cool, take out the pin curl clips and apply Blend Clay. Then, apply Care Keratin Smooth Silk Polish throughout ends and use a comb to break up the style and add polish.
To add that “wow factor” to the finish, mist Style Freestyle Spray to keep flyways at bay and send the client home with Blend Refreshing Balm to extend the life of their blowout.
Share On


By Keune
Inspiring True Beauty since 1922