Brunette Balayage Step-By-Step
By Keune | April 10th, 2019
As the summer light softly makes its way into our salons this season seamless, easy-going color will accompany it. We will still see shades ranging from neutral to pastel but placement will appear more natural. Now, Keune is making it even easier to achieve natural placement with our new clay-based lightener – Freedom Blonde – perfect for free-hand techniques seen in this beautiful brunette balayage step-by-step!
With a creamy formula and Freedom Fuse Technology, Freedom Blonde is specially formulated for open-air techniques by creating a sheath around the hair strands allowing the formula to lift without drying out.
Not sure where to start? Keune North America Creative Technical Director Amber Skrzypek beautifully details a gorgeous transformation from start to finish! From tools to formulas, sectioning, and placement, Skrzypek will show you how to create a flawless balayage and beach wave from start to finish! Keep reading to see all the steps below!
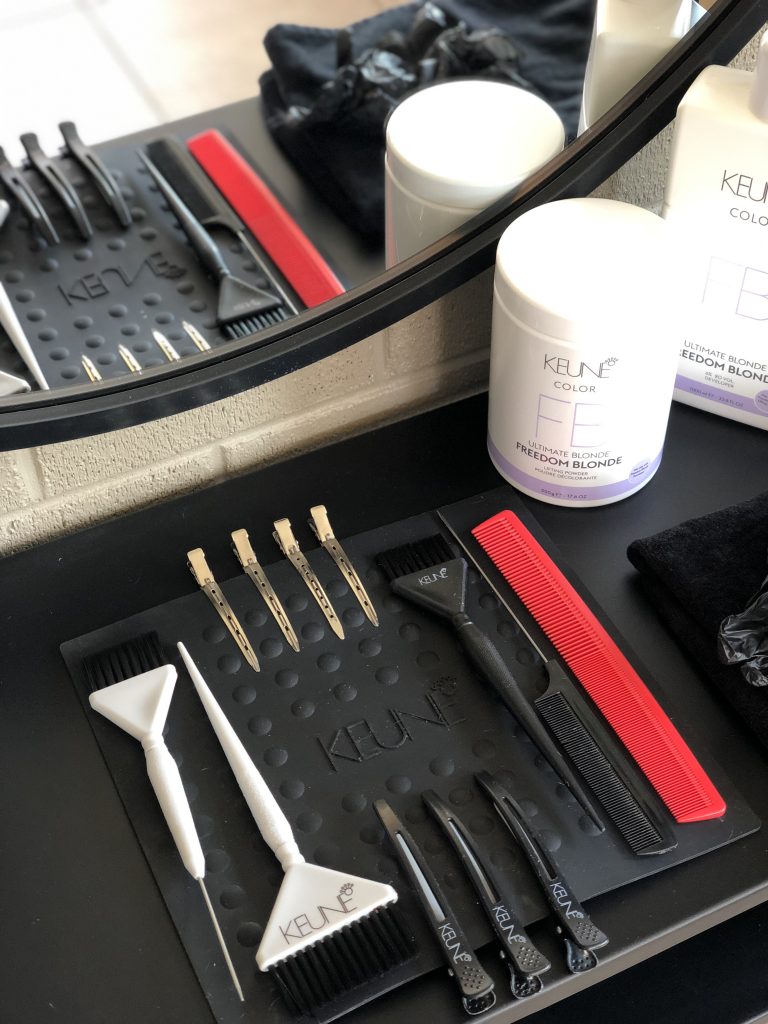
TOOL LIST
For this technique, you will need
- Clips
- Comb
- Assorted color brushes
- A towel
- 2 foils
- Gloves
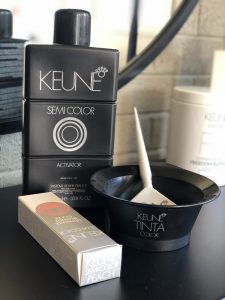
MIX
Freedom Blonde Powder is designed to be used with Freedom Blonde Developer to ensure it retains its moisture and energy during hand painting techniques. Also giving you a rich thick consistency.
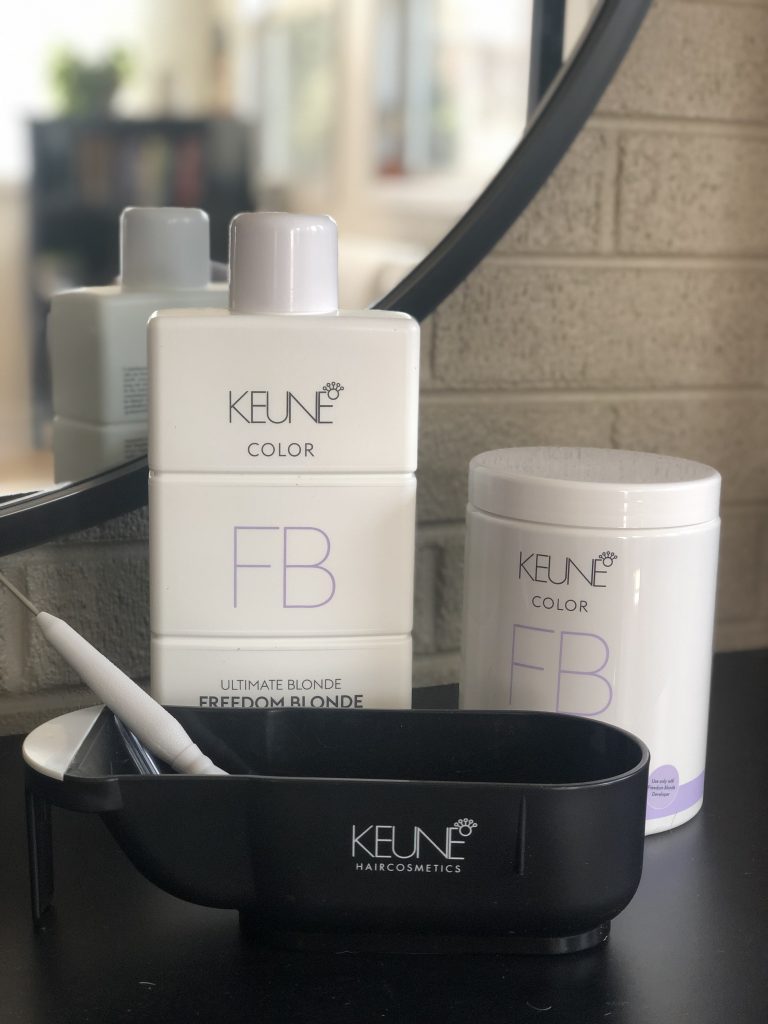
FORMULA
30 g Freedom Blonde + 45 g 40 vol. Freedom Blonde Developer
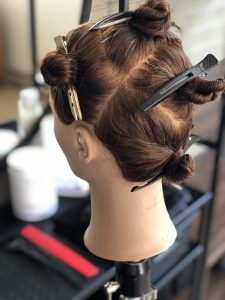
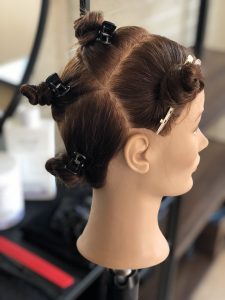
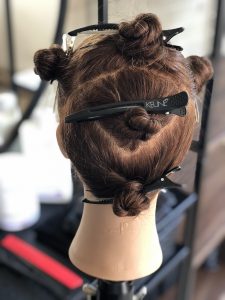
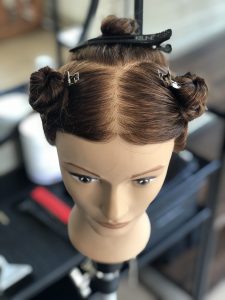
SECTIONING
- Create a section that extends from mid crown to behind both ears
- Then, create a triangle section off of this parting that starts at the parietal ridge and extends down past the crown
- Create another triangle section on the opposite side of the parting that starts at the high point
- Part the remaining hair off at center
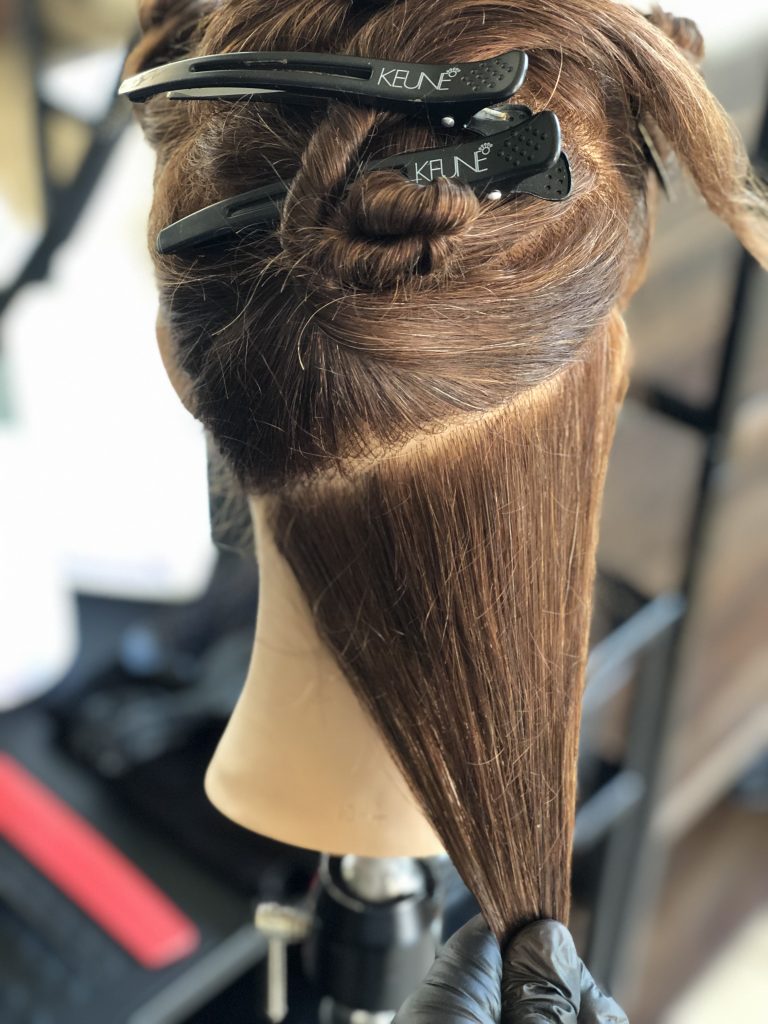
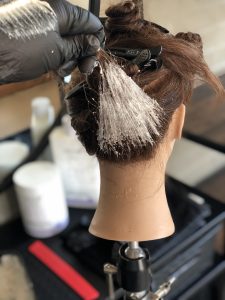
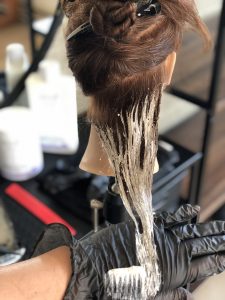
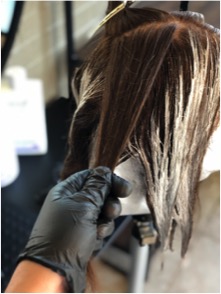
APPLICATION
STEP 1: Begin by subdividing the bottom section with a diagonal back parting from behind the ear to the opposite side of the nape. Paint the bottom and top of this section
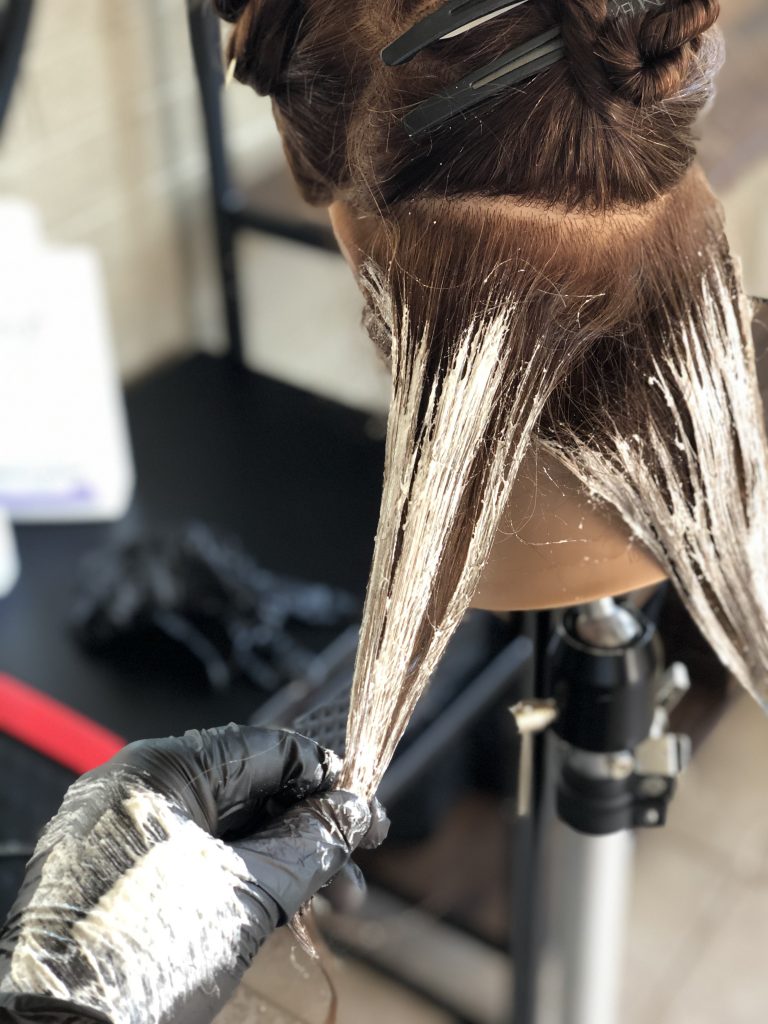
STEP 2: Take another diagonal back parting on the opposite side. Paint the outside hairline and the top of this section.
STEP 3: Take another diagonal back parting on the opposite side. Paint the outside hairline and the top of this section.
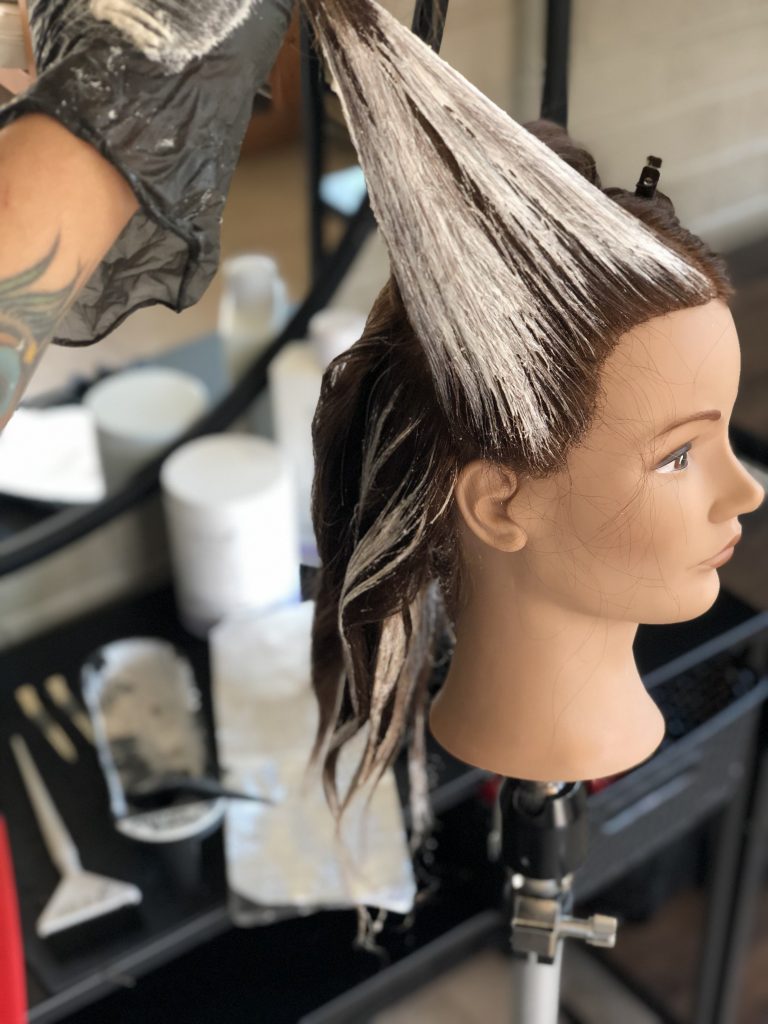
STEP 4: Divide the hair below the triangle in half. On both sections, paint the outside hairline and the top.
STEP 5: Paint the top section of the triangle.
*STUDIO TIP – leave some depth at the scalp for a more natural look.
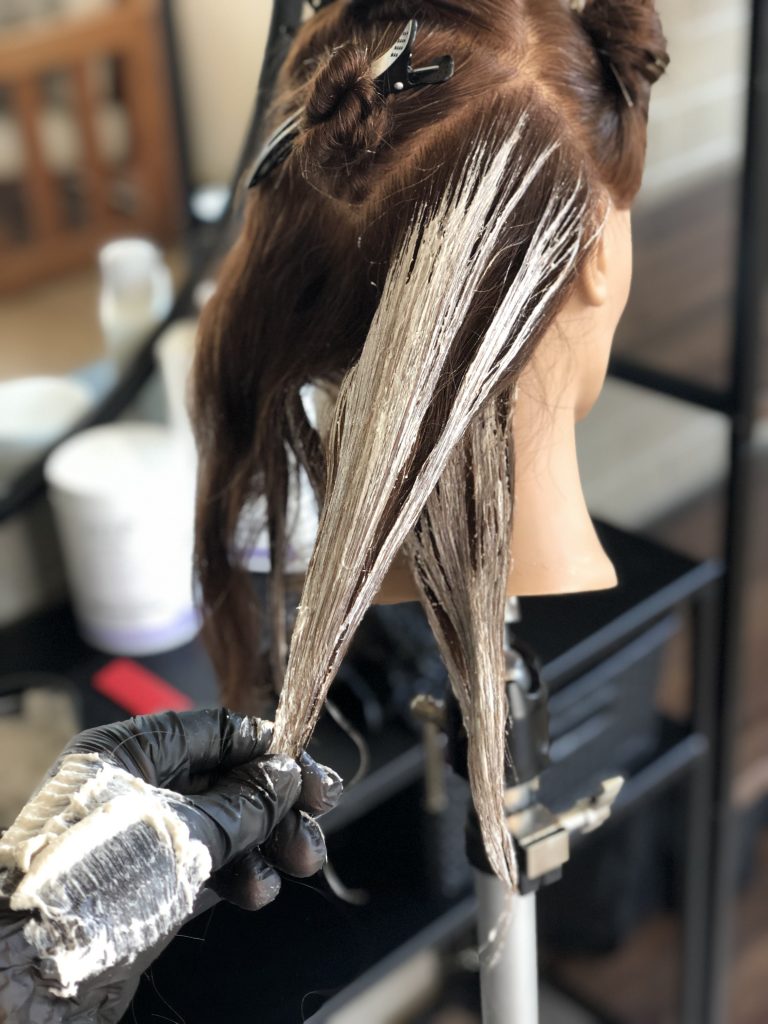
STEP 6: Take 3 diagonal back partings starting at the face and working your way back toward the triangle.
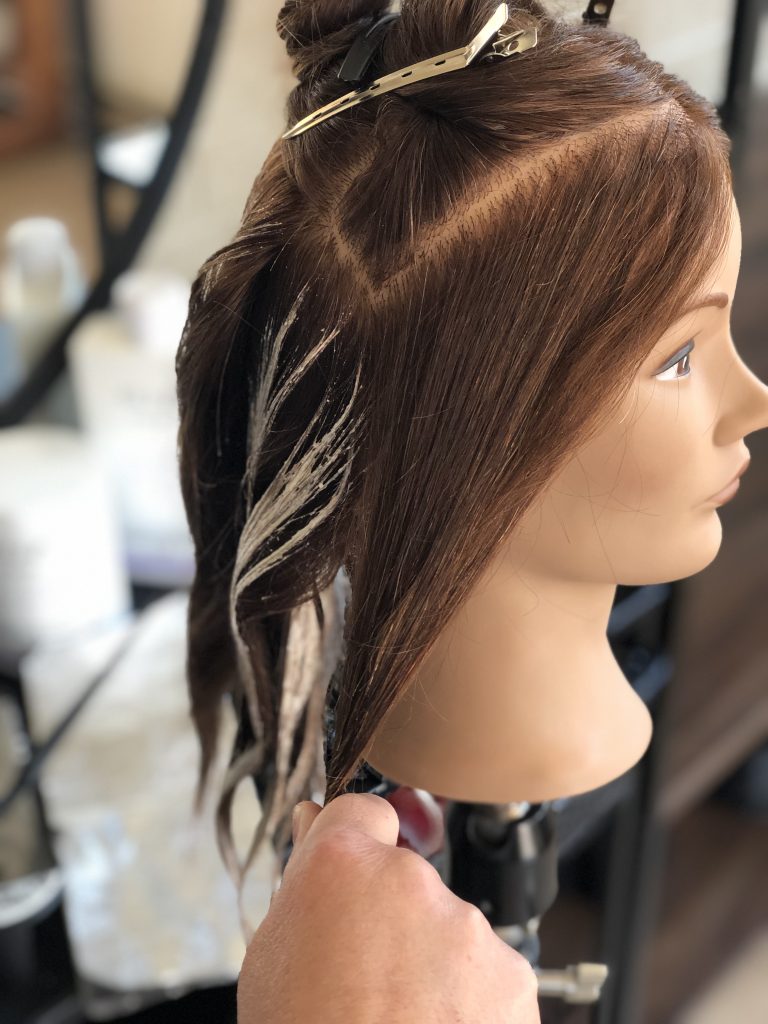
STEP 7: Paint the hairline and the top of the first section. Leave more depth on the interior as you move away from the face. Continue the same technique on the opposite side.
*STUDIO TIP – Lay a piece of foil under the section that rests on the face.
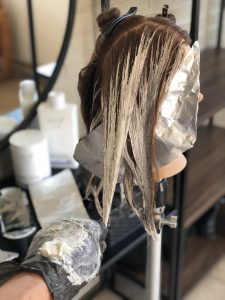
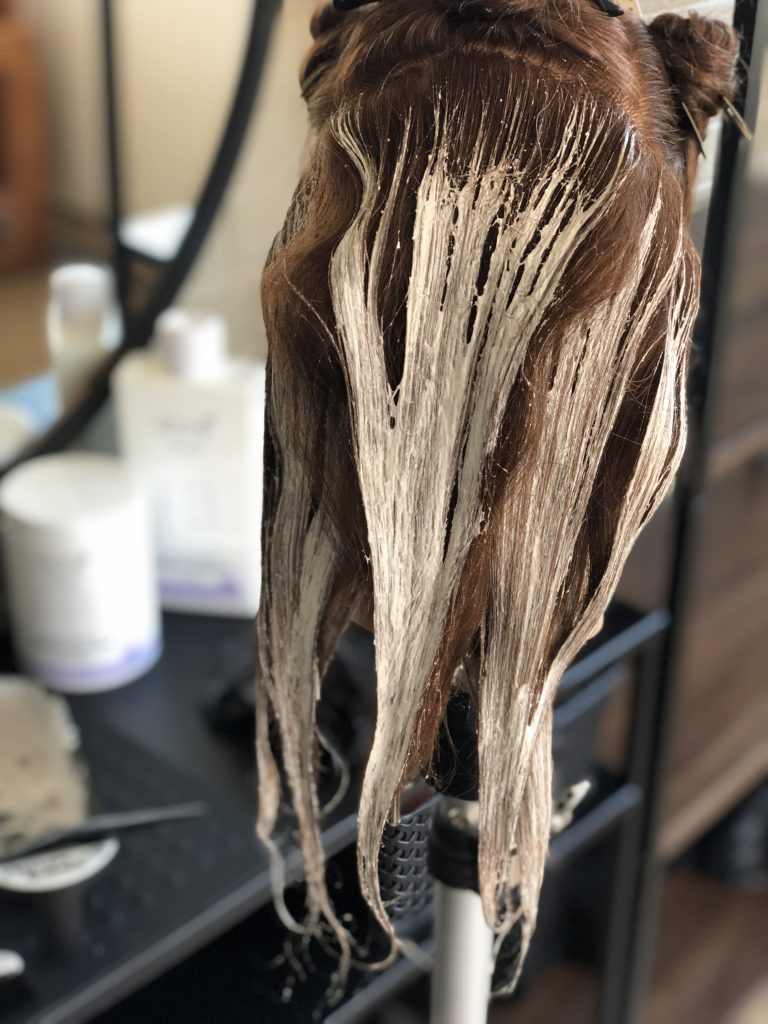
STEP 8: Divide the center triangle down the middle and paint standing on the left and right side. Increase the elevation when working on the top of the head.
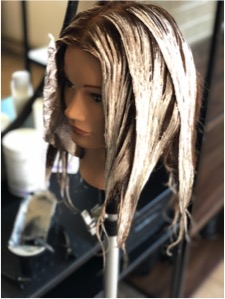
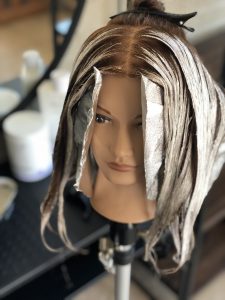
PROCESS & FINISHING
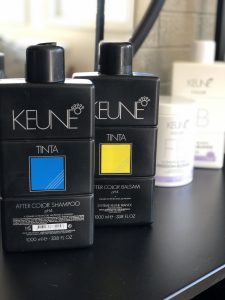
Freedom Blonde can process for up to 50 min or until you’ve reached the desired level of lightness, whichever comes first. Shampoo twice with After Color Shampoo and tone with your favorite Semi Color Shade.
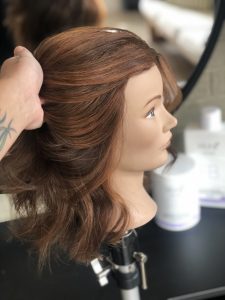
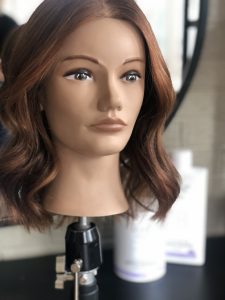
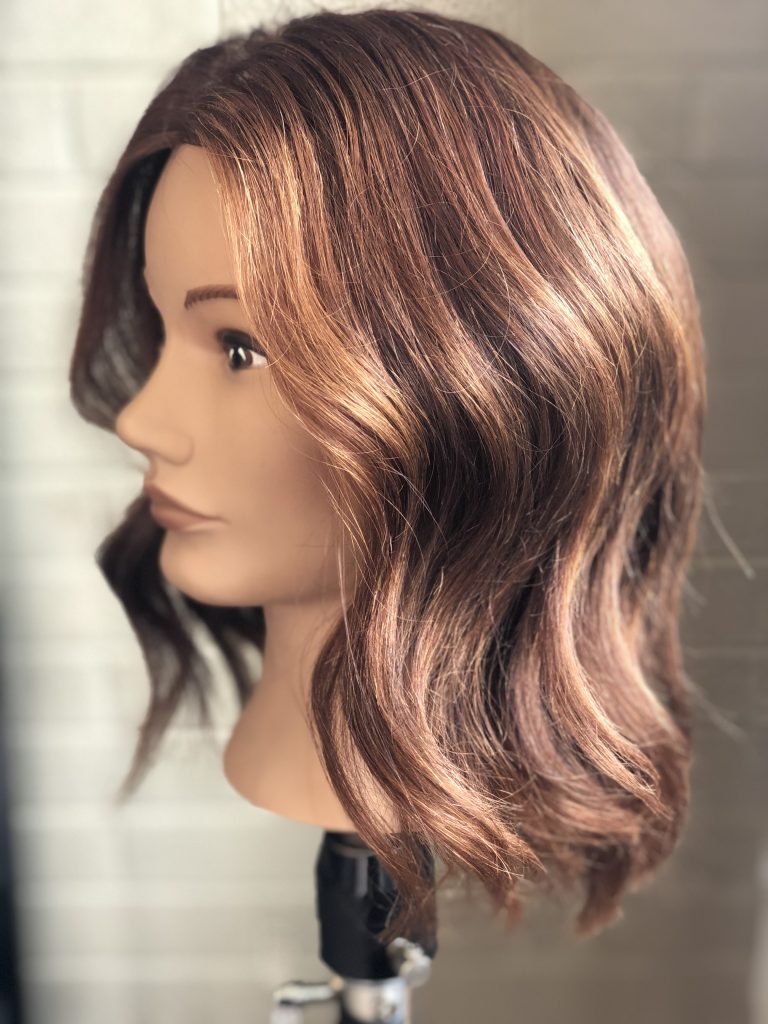
FINISHED LOOK
Style as desired. This look was achieved with BLEND Prep Spray and BLEND De-Frizz.
Share On


By Keune
Inspiring True Beauty since 1922